Connect your account
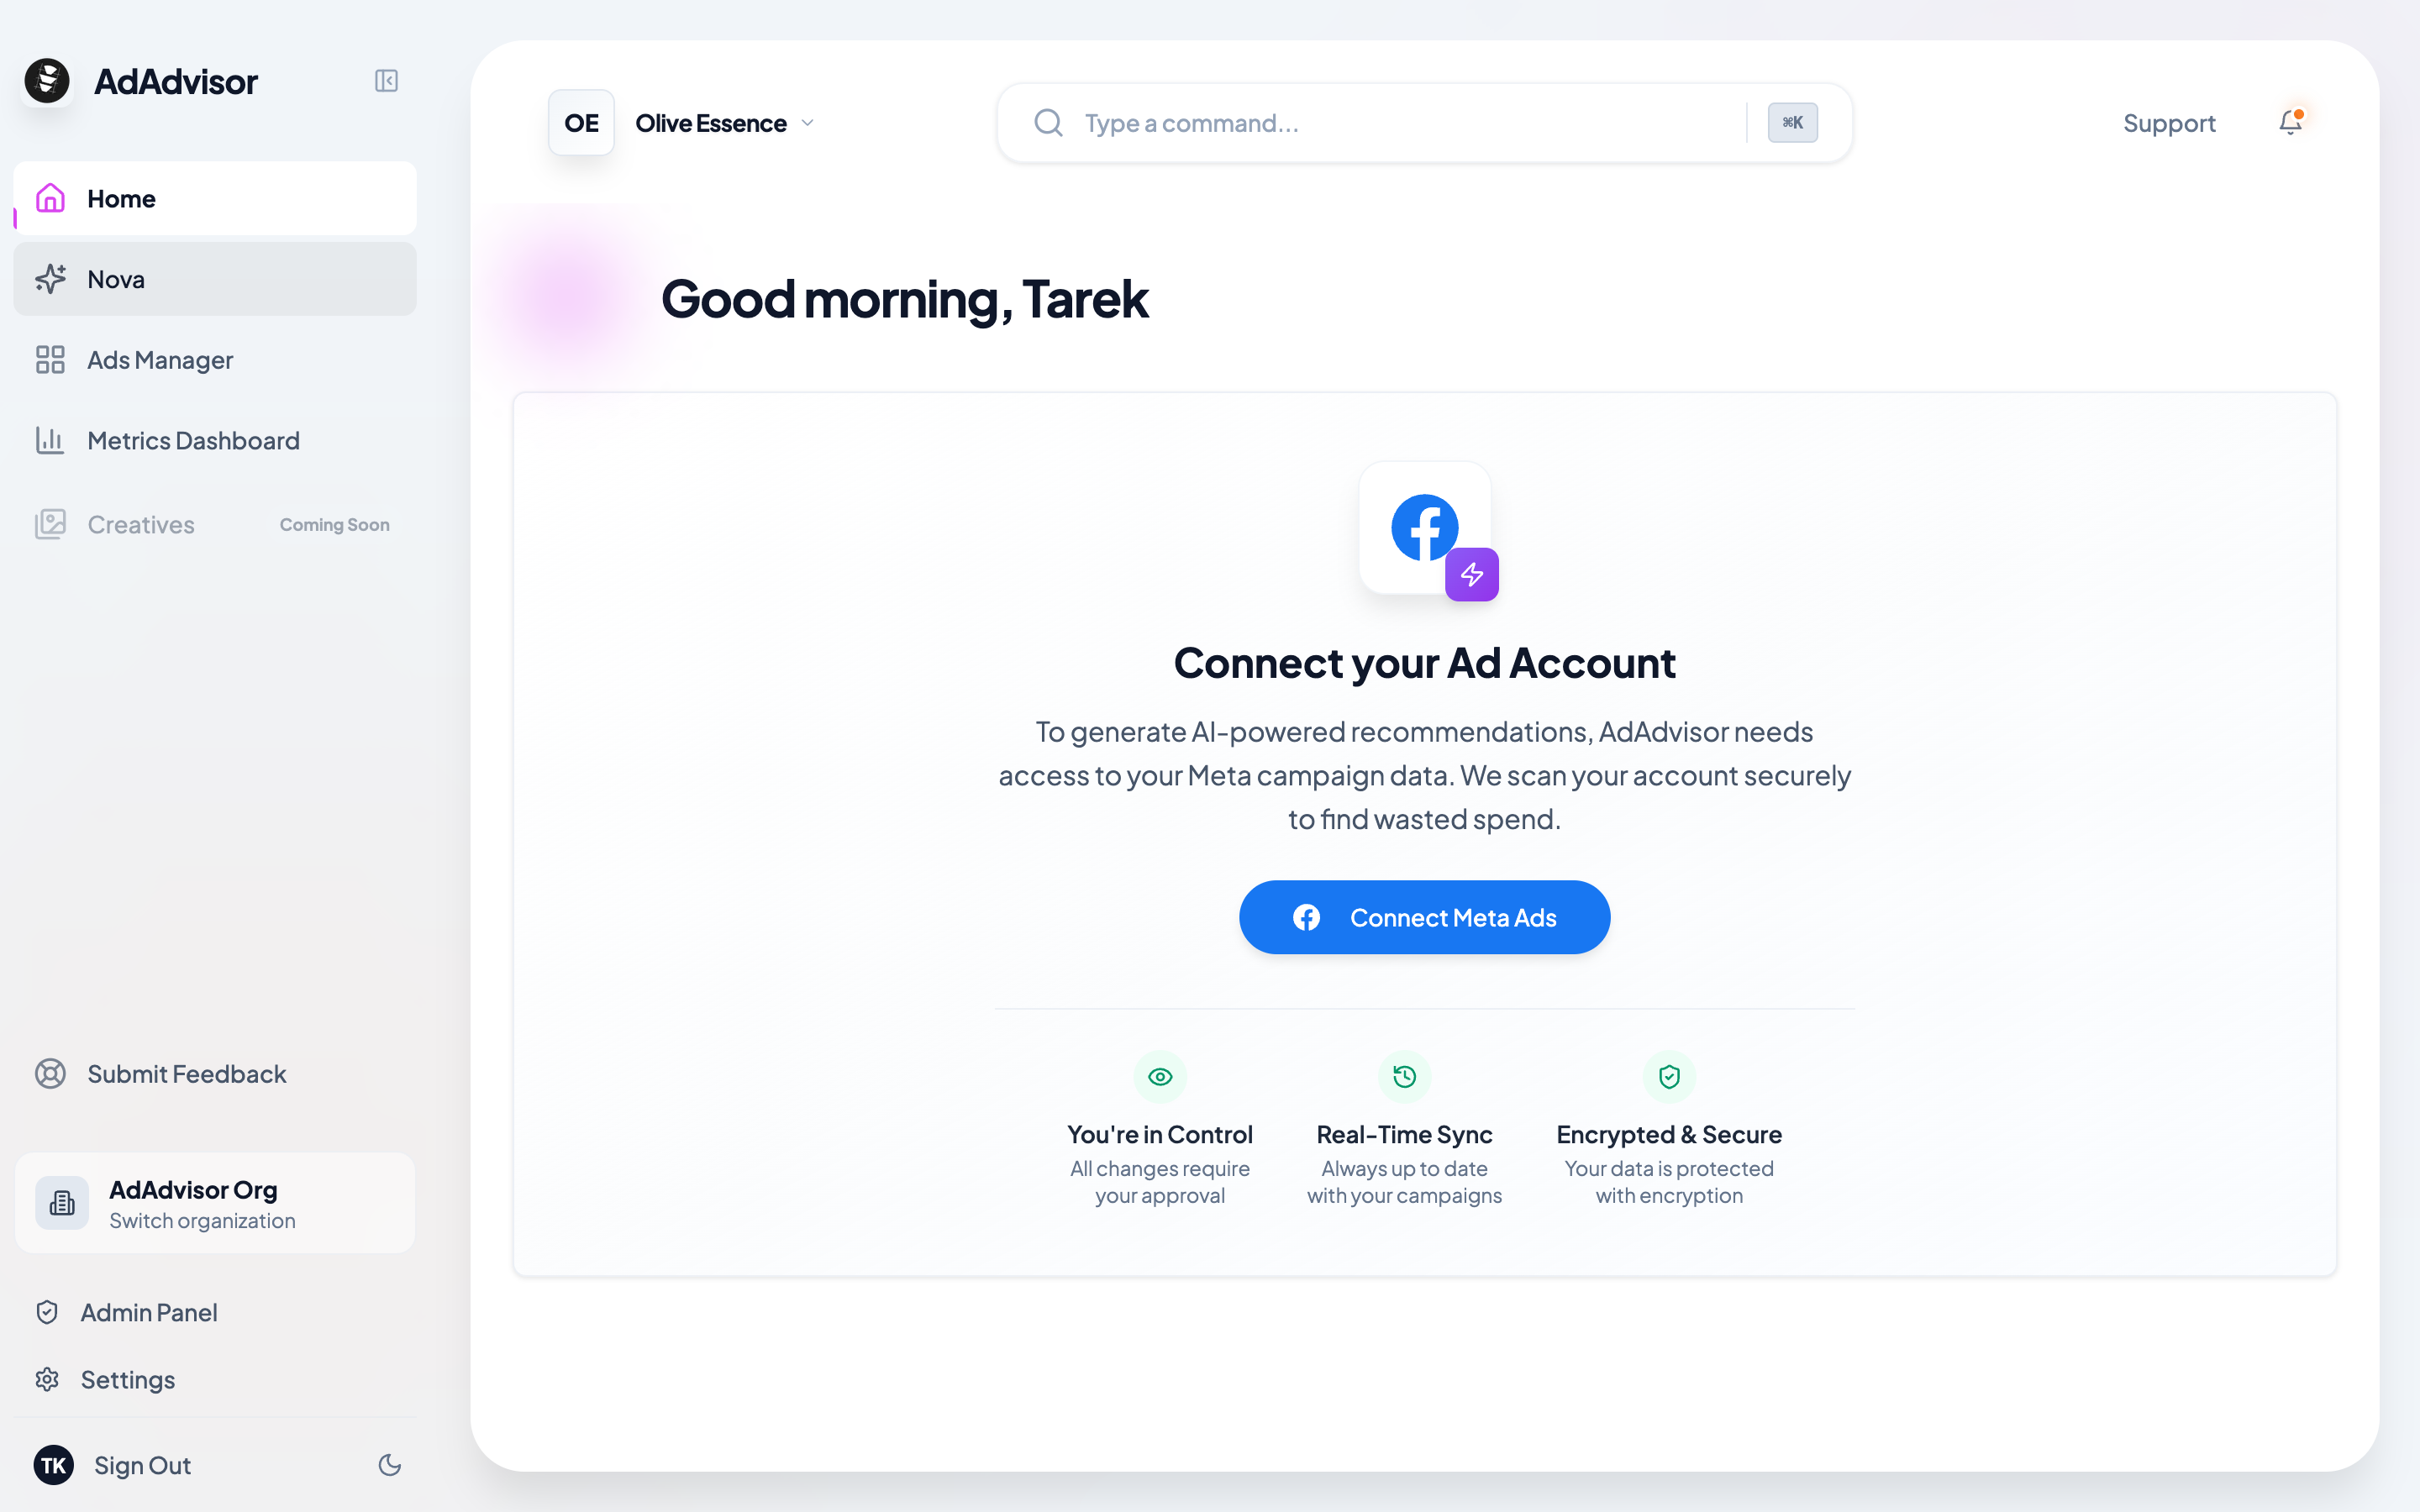
Click the Connect button
Click the “Connect with Meta” button on the home page. This opens a Facebook authorization window.
Complete the Facebook authorization
Log in to your Meta account (if you aren’t already) and approve the permissions. This authenticates AdAdvisor with your Meta Ad account and allows us to pull in your campaign data so we can analyze it and generate recommendations.
Select your ad account
After approving, you’ll be taken back to AdAdvisor. A dialog will pop up listing all the ad accounts under your Meta Business. Pick the one you want to connect.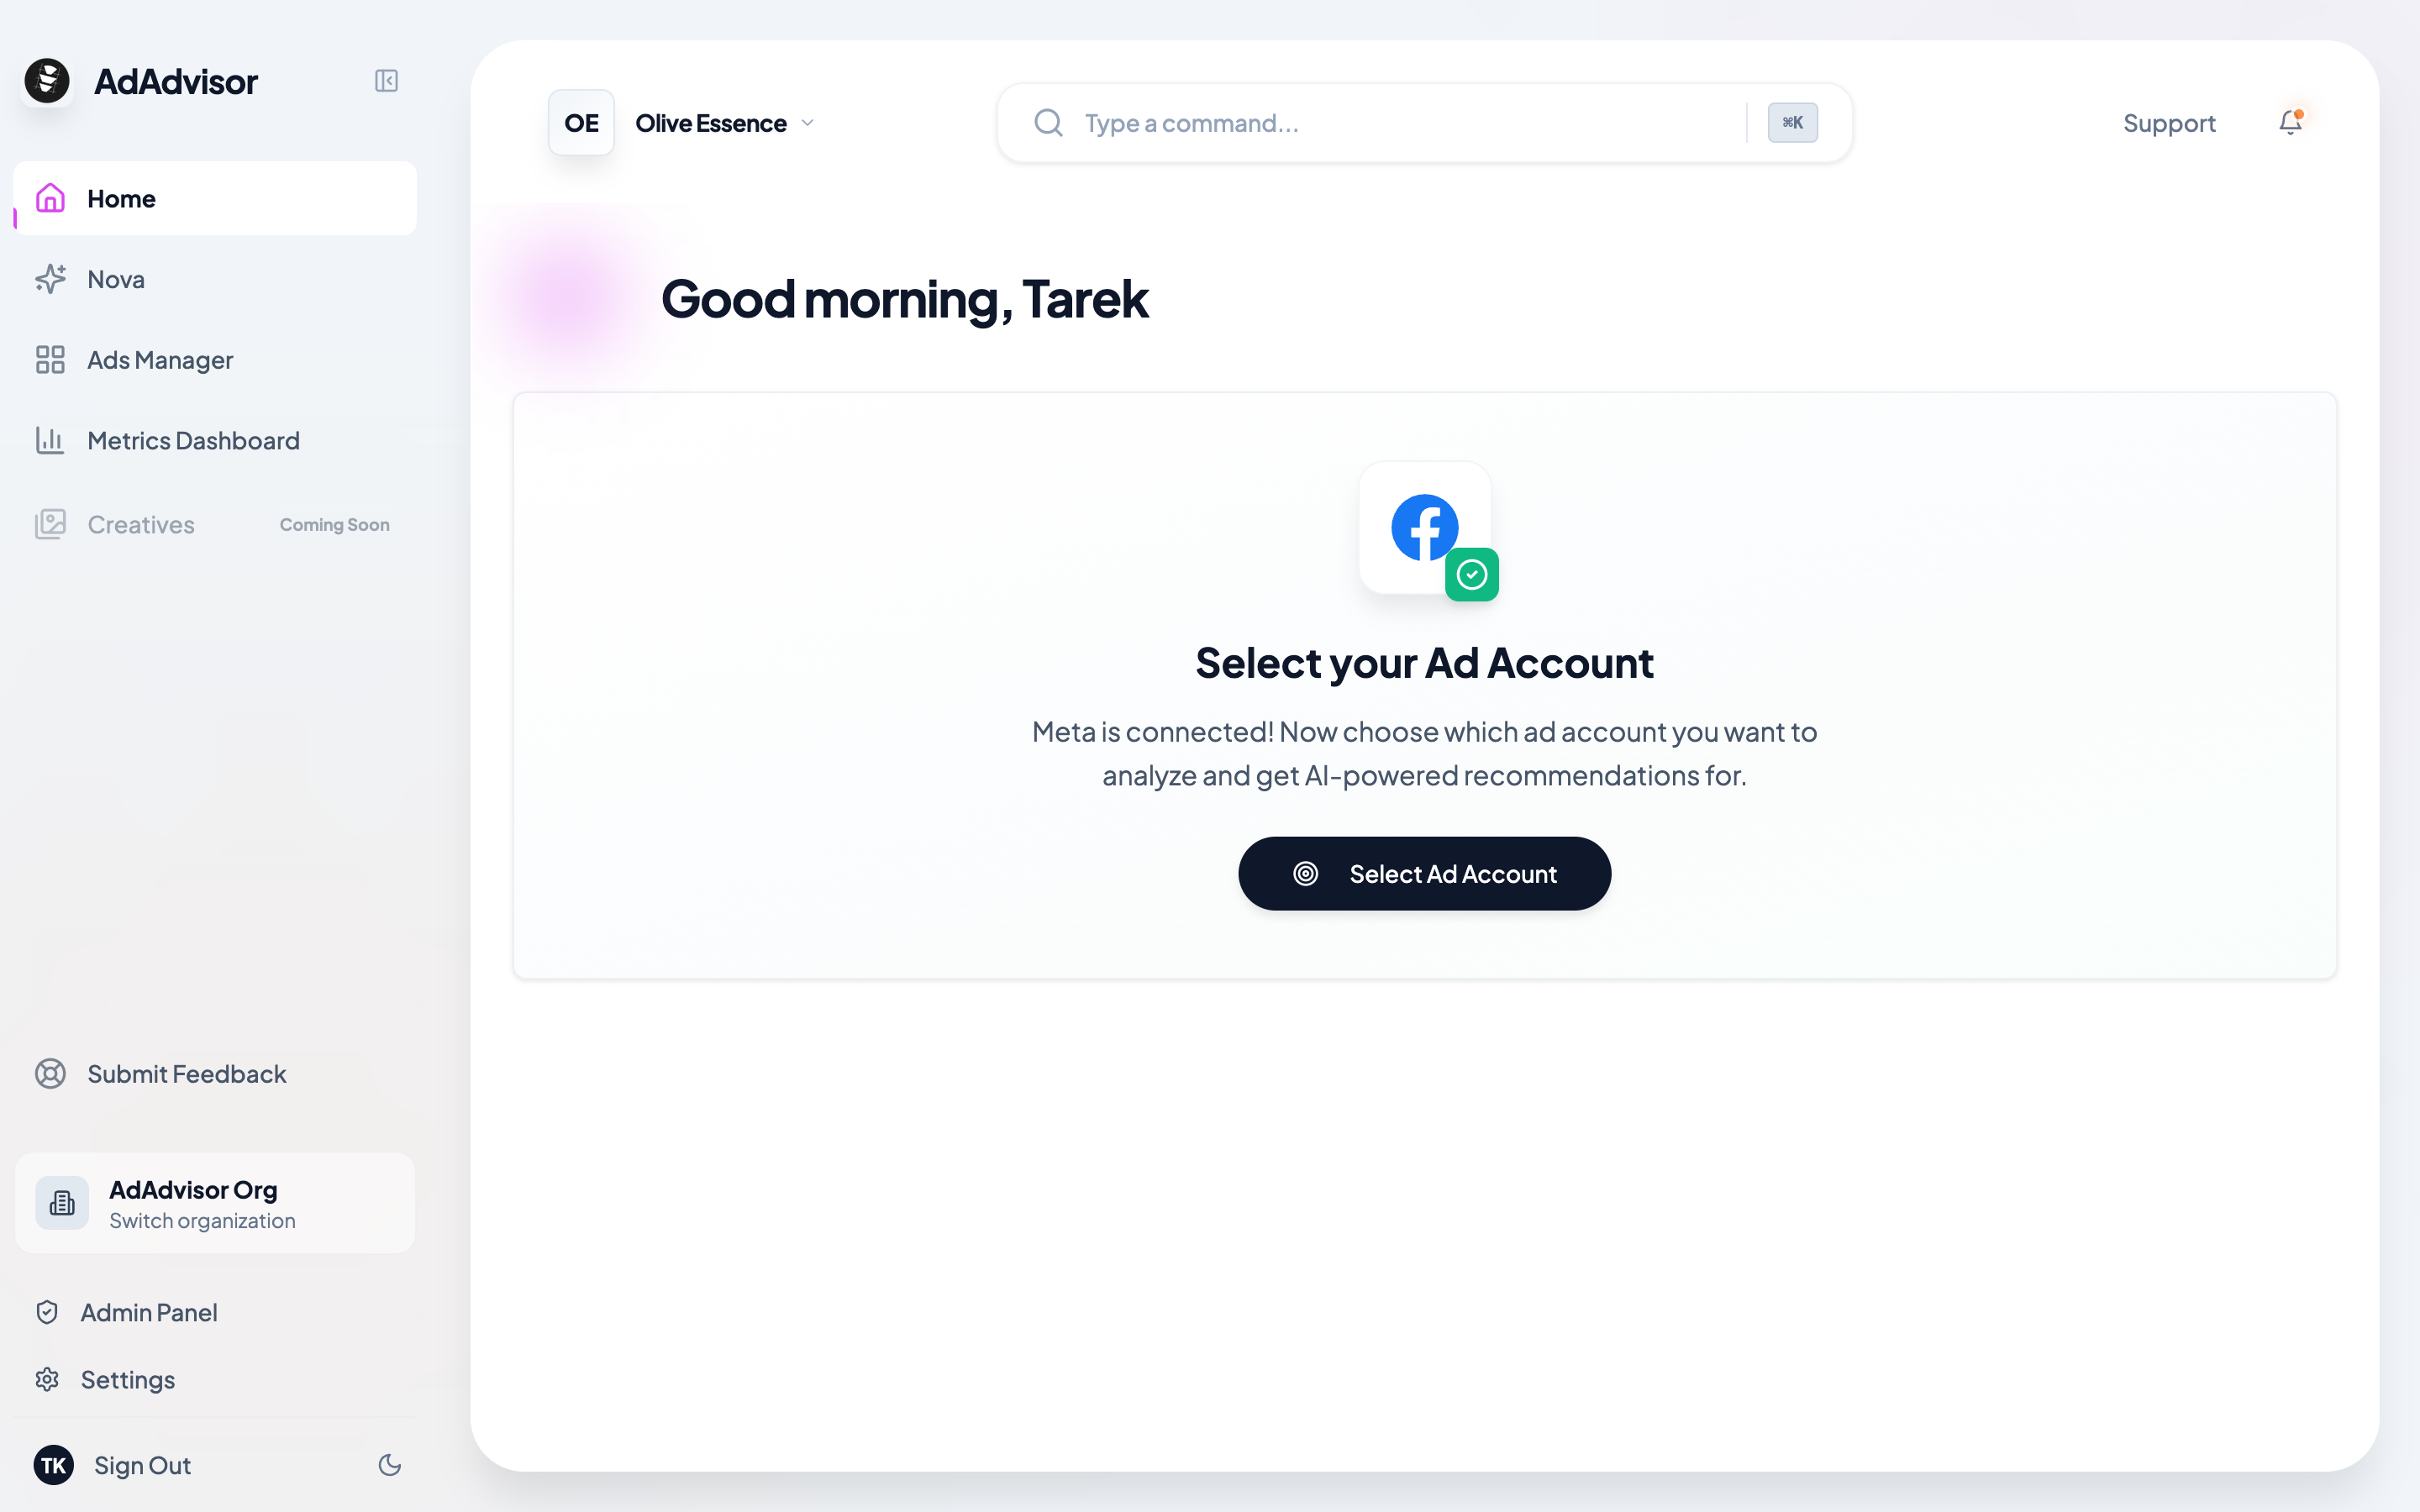
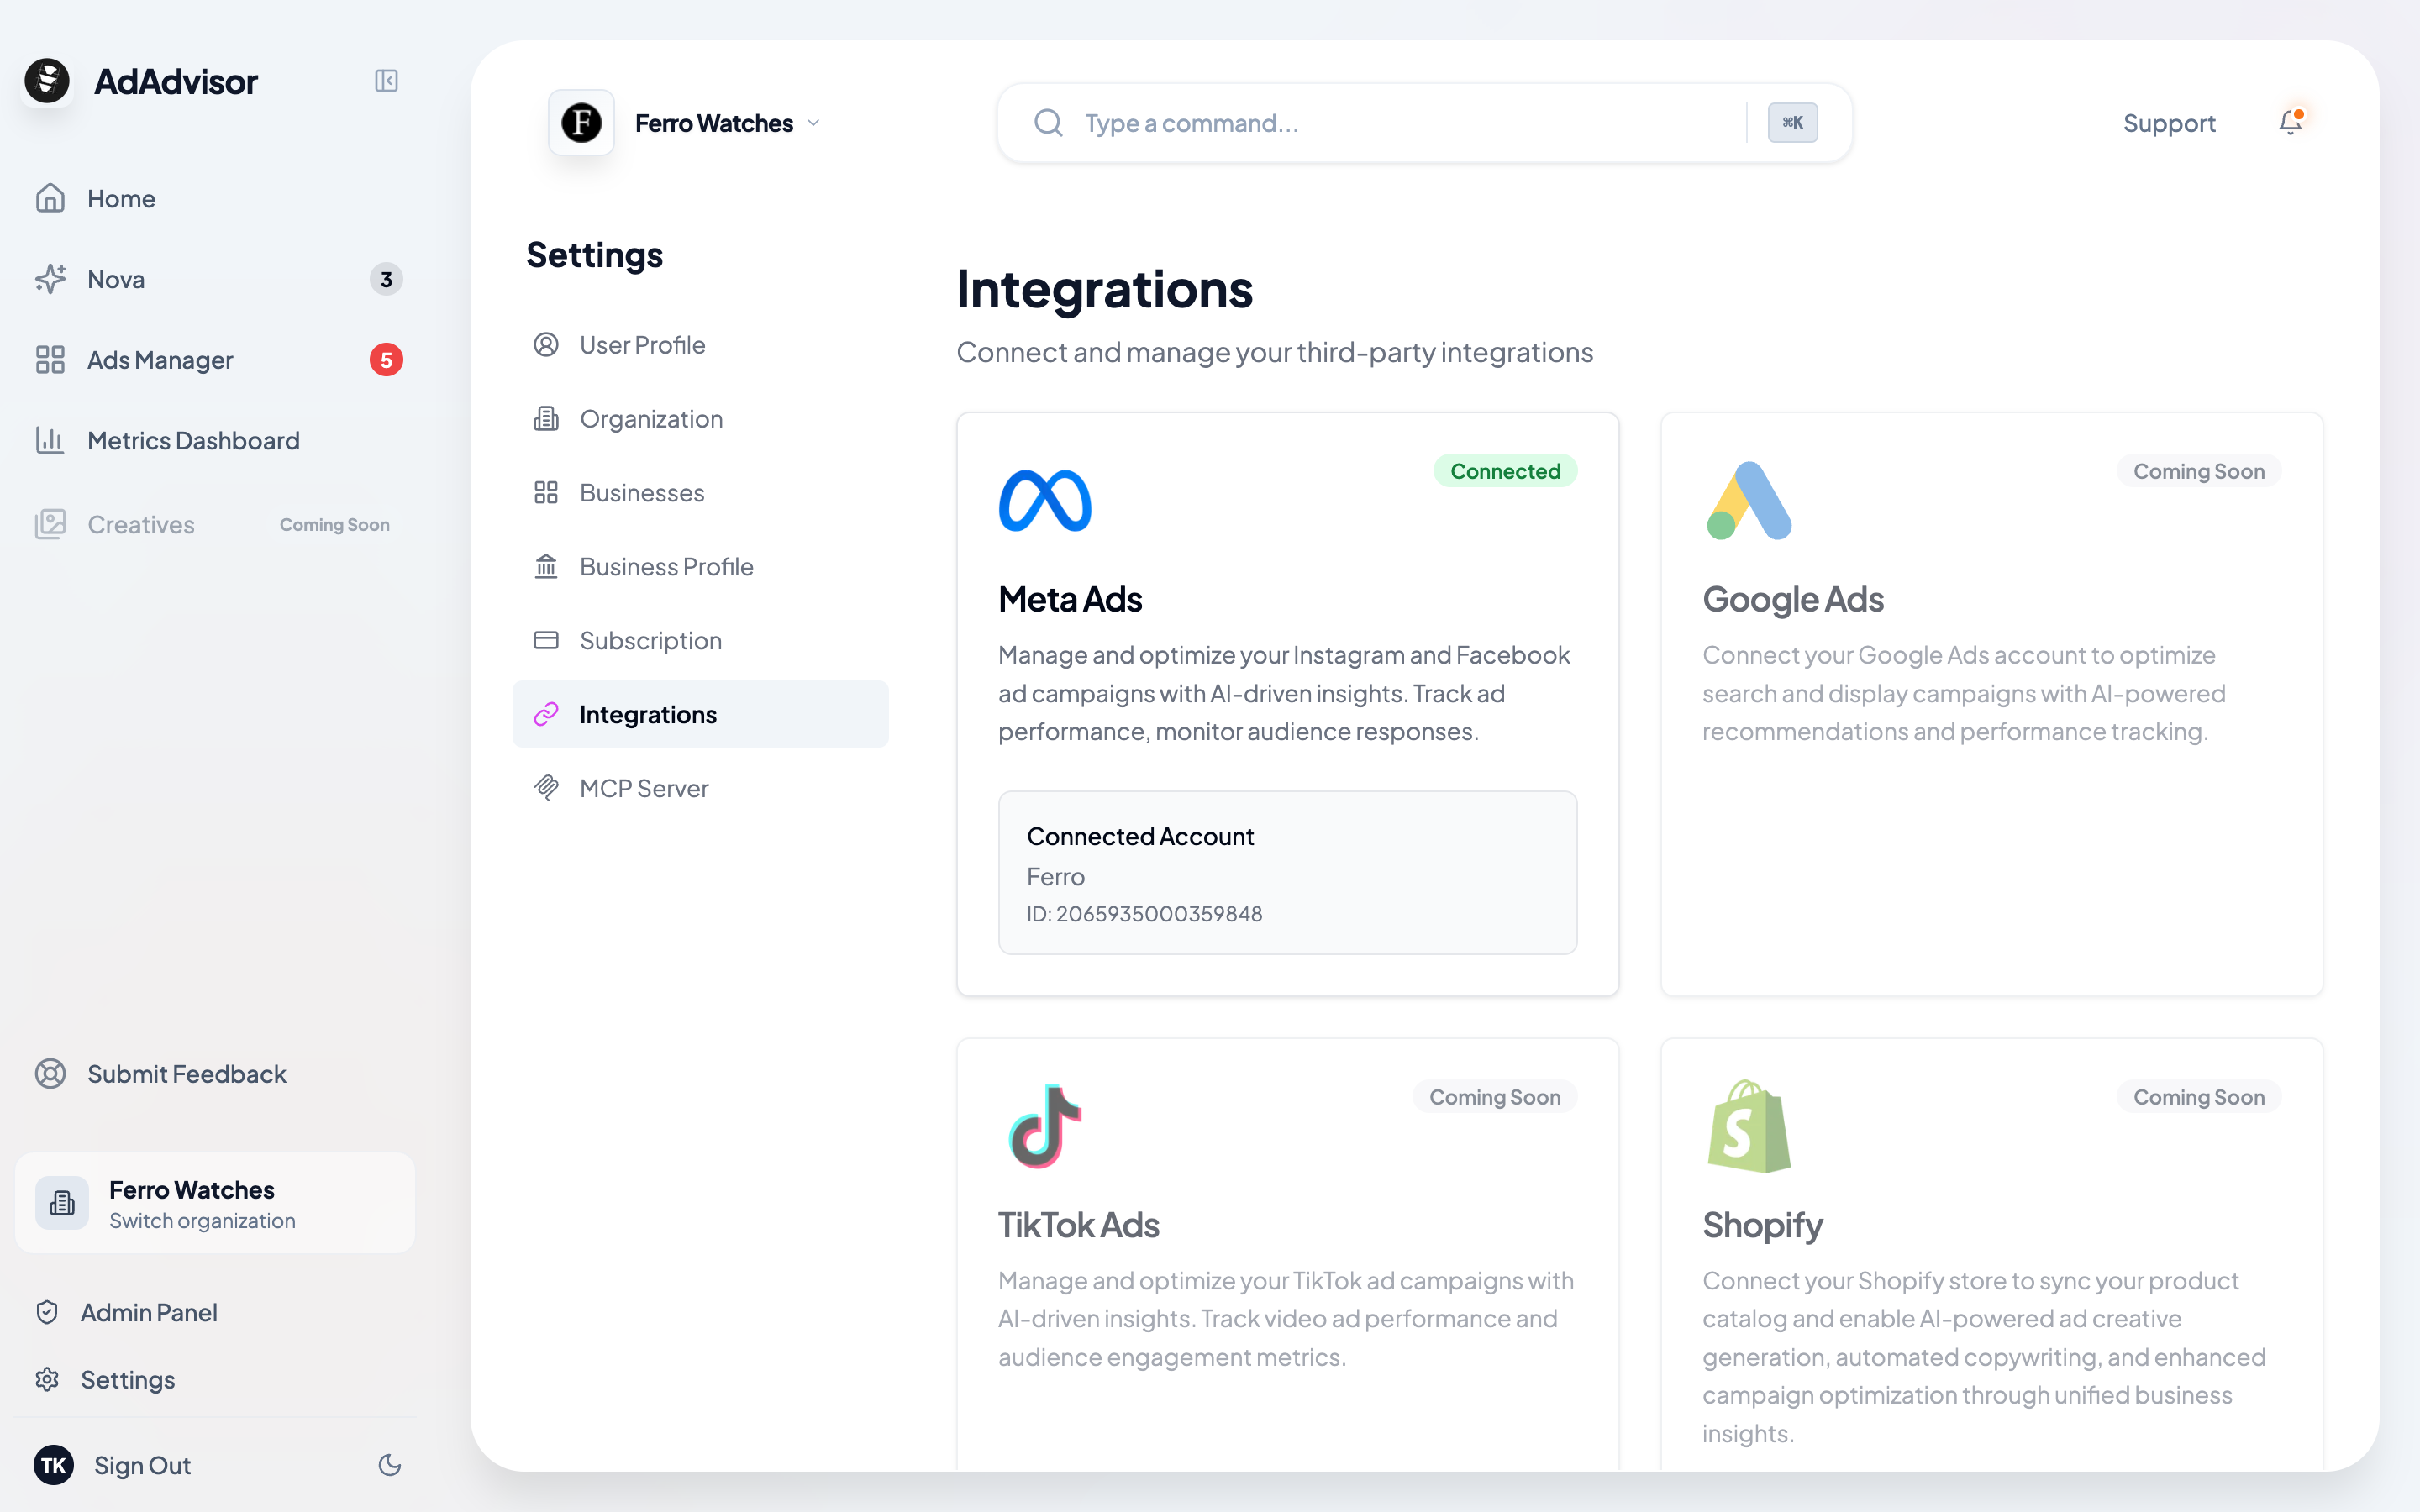
You can also manage your Meta connection from Settings > Integrations at any time. Go there to reconnect, switch ad accounts, or check your connection status.